


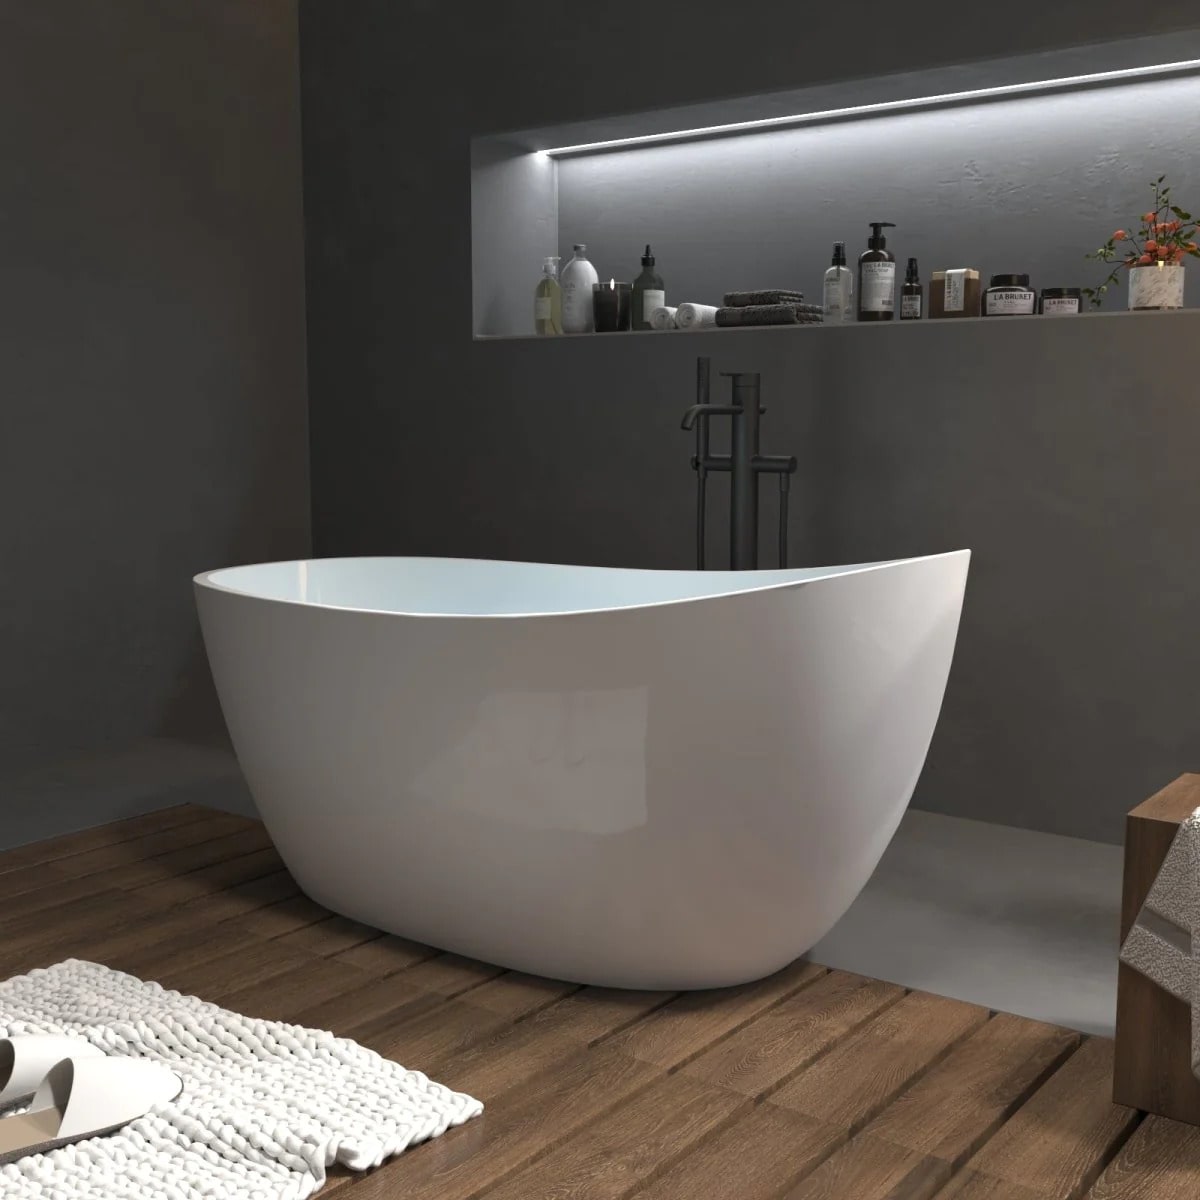


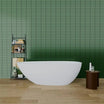


A bathroom vanity is a fundamental element in bathroom design, seamlessly blending form and function.
It offers crucial storage space, conceals plumbing, and provides a surface for daily routines. Furthermore, the choice of materials, finishes, and design can greatly influence the bathroom's aesthetics, setting the tone for the entire space. It's a balance of practicality and style that enhances the overall functionality ad visual appeal of the bathroom.
In this comprehensive guide on 'How to install bathroom vanities', we will walk you through each step, from removing the old vanity to connecting plumbing, empowering you to enhance your bathroom's functionality and aesthetics with confidence.

I. Pre-Installation Preparation
A bathroom vanity serves as a focal point in your bathroom's design, blending functionality and style. In this comprehensive guide, we'll walk you through the essential steps of choosing the right vanity measuring your space, and successfully installing it in your bathroom.
Step 1: Gather Your Tools and Materials
Before diving into the exciting world of bathroom vanity upgrades, you'll need to ensure you have the necessary tools and materials on hand. Here is your checklist of the necessary tools you can find online or at any local home depot near you:
- Screwdriver (We recommend purchasing sets)
- Adjustable Wrench
- Pipe Wrench
- Level
- Tape Measure
- Drill and Hole Saw
- Plumber's Tape
- Plumber's Putty (for faucet accessory)
- Hacksaw
- Shims
- Silicone sealant
- Pencil
- Safety Glasses
Having these tool ready will make your installation process smoother and more efficient.
Step 2: Measure Your Space
The importance of measuring your bathroom space cannot be overstated. It's the crucial first step to ensure your chosen vanity fits perfectly within the allocated area. Accurate measurements prevent costly mistakes and ensure that your new vanity doesn't overcrowd the room.
Start by measuring:
- The width, depth, and height of the available space
- Any obstacles or potential interference such as electrical outlets and plumbing connections
Precise measurements will guide you in selecting a vanity that seamlessly integrates into your bathroom.
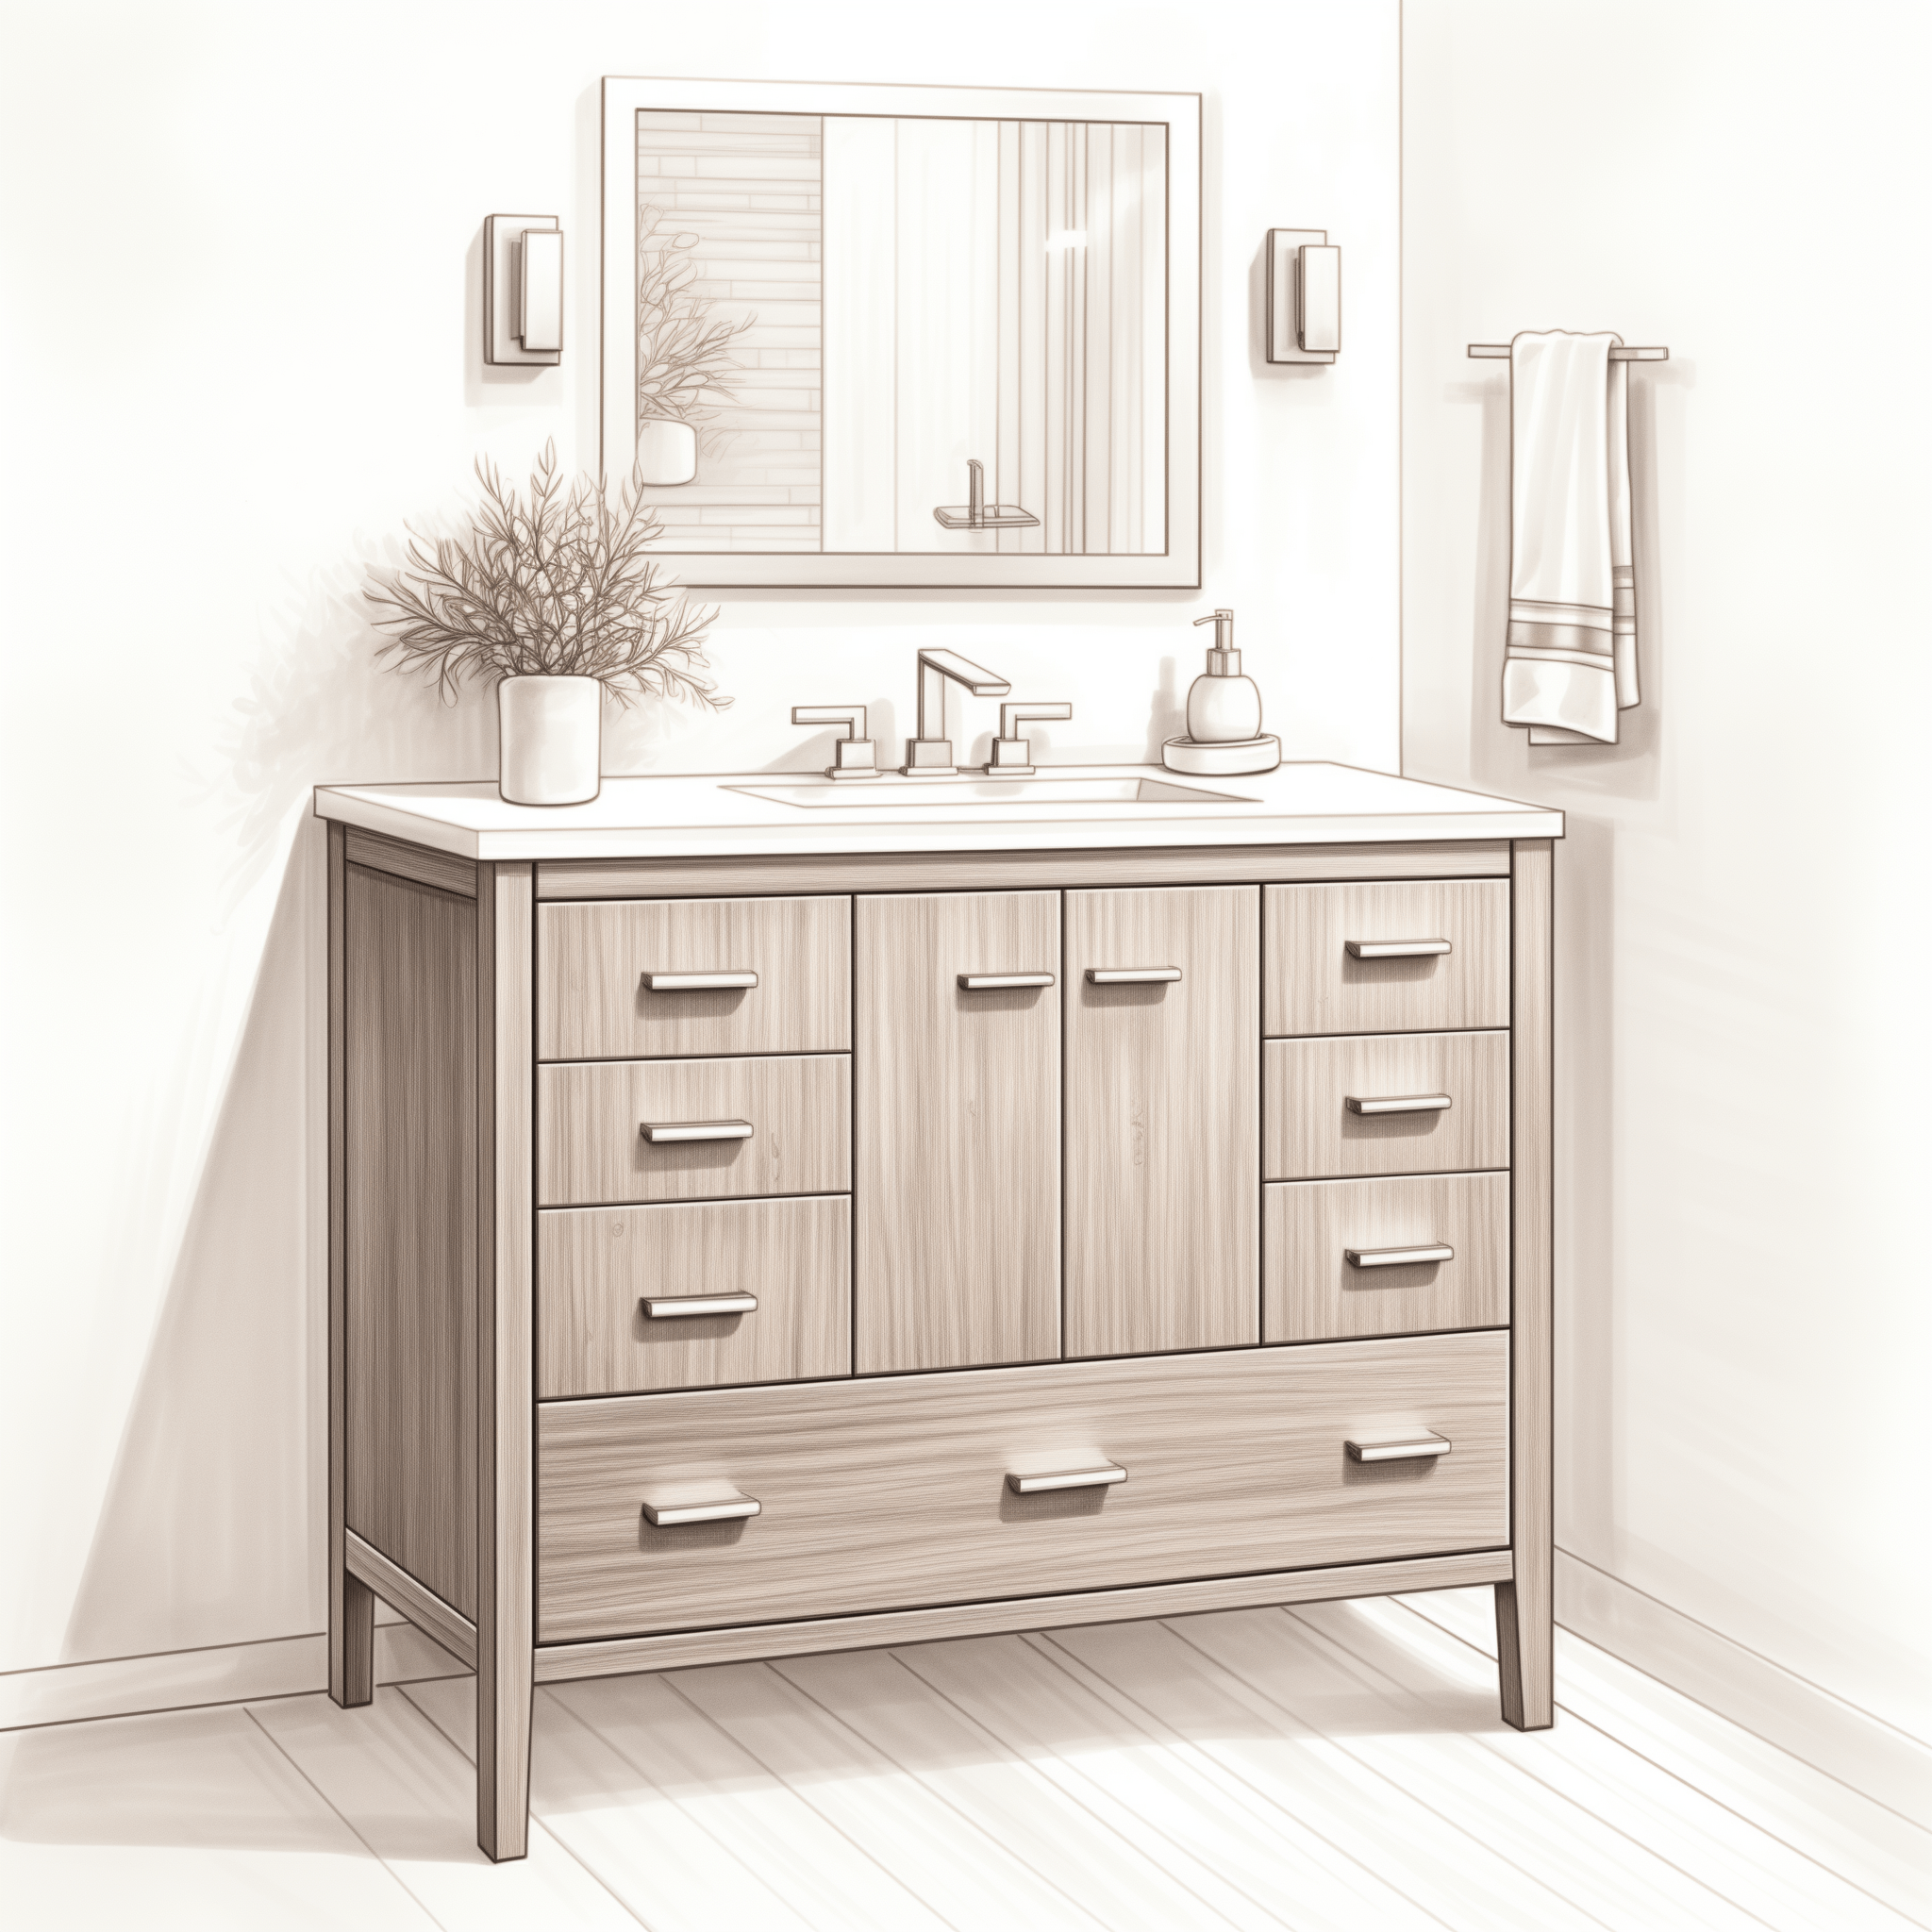
Step 3: Choosing the Right Bathroom Vanity
Now comes the fun part - selecting the ideal bathroom vanity for your space and style. Here are some tips to help you make the right choice:
- Space Assessment: Consider the size of your bathroom and layout. Ensure your chosen vanity doesn't overwhelm the space
- Style and Design: Determine your preferred style, whether it's traditional, modern, or transitional. Your vanity should complement your bathroom's overall aesthetic.
- Storage Needs: Evaluate your storage requirements. Decide on the number of drawers and cabinets to house your toiletries and essentials.
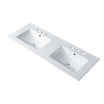
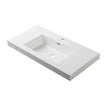
- Sink Type: Choose between as single or double sink vanity, depending on your family's needs and available space.
- Materials: Select high-quality materials like wood, MDF, or solid-surface materials. These materials should withstand the conditions of a the bathroom.
- Countertop Options: Pick a countertop material that balances style and functionality. Options range from natural stone like granite or marble to budget=friendly choices like laminate or quartz.
- Faucet Compatibility: Ensure the vanity top has pre-drilled holes or is suitable for accommodating your preferred faucet style.
- Hardware and Finishes: Match the hardware and finishes to your bathroom's decor, whether it's brushed nickel, chrome, or oil-rubbed bronze.
- Budget: Set a budget that aligns with your expectations and explore vanity options within that range.
- Reviews and Recommendations: Research vanity brands, read reviews, and seek recommendations from professionals or friends who have experience in bathroom remodeling
Vanity Plus Options:
- Bari
- Berlin
- Copenhagen
- Eliza
- Geneva
- Hanover
- Jena (Wall-Mounted)
- Noble (Wall-Mounted & Freestanding)
- Positano (Wall-Mounted)
- Turin
Collections by - Blossom, Moreno Bath, Wood & Stone
With the right tools and well-thought-out plan, you can embark on your bathroom vanity installation journey with confidence.
II. Step by Step Installation Guide
Step 1: Removing the Old Vanity
- Turn off the water supply: Locate the shut-off valves beneath the sink and turn them clockwise until they're tightly closed. This stops water flow to the vanity.
- Disconnect plumbing connections: Use an adjustable wrench to loosen and disconnect the water supply lines and the drain pip. Be prepared for a small amount of water to drain.
- Moving an old bathroom vanity: Carefully detach the vanity from the wall by unscrewing it from the wall studs. Have someone assist you in lifting and removing it from the bathroom.
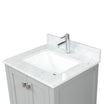
Step 2: Assembling Your New Bathroom Vanity with Precision
- Carefully unpack the vanity components, and follow the manufacturer's instruction for assembly. Most vanities come with detailed guides that make the process straightforward. You'll typically need to attach the legs, sides, and back of the vanity, creating a solid framework for the next steps
- Proper alignment is crucial to ensure your vanity looks fantastic and functions flawlessly. To achieve this use a level to check if the vanity is straight and plumb. Aligning your vanity ensures that it sits squarely on your bathroom floor and maintains a pleasing appearance.
- Once your vanity is properly aligned, its time to secure all the components. This step is vital to guarantee the stability and longevity of your new vanity. Here's what you should:
- Tighten screws and fasteners evenly to secure all parts.
- Ensure that everything is snug but not overtightened, as it can damage the vanity.
- Check for an wobbling or instability and make necessary adjustments
Step 3: Installing the New Vanity
To mark the wall for your new vanity's placement:
- Measure and mark the vanity's height on the wall.
- Use a level to ensure it's straight and level.
- Outline the vanity's width on the wall for accurate placement.
Now attach the vanity:
- Drill pilot holes into wall studs.
- Secure the vanity to the wall with screws.
Step 4: Plumbing Perfection
Reconnecting plumbing when installing a new vanity is the final but critical step. Here's how to do it:
- Water Supply Lines: Reattach the water supply lines to the faucet connections. Tighten them using an adjustable wrench, but don't over-tighten.
- Drain Pipe: Reconnect the drain pip. Use plumber's tape to ensure a snug fit and secure it with a pope wrench.
- Check for Leaks: Turn on the water supply and carefully inspect all connections for any leaks. even a small drip can lead to bigger issues over time.
Ensuring leak- free plumbing connections is essential. It guarantees the functionality and longevity of your new vanity while keeping your bathroom dry and worry-free.
III. Adding Finishing Touches to Your Vanity
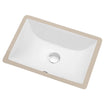
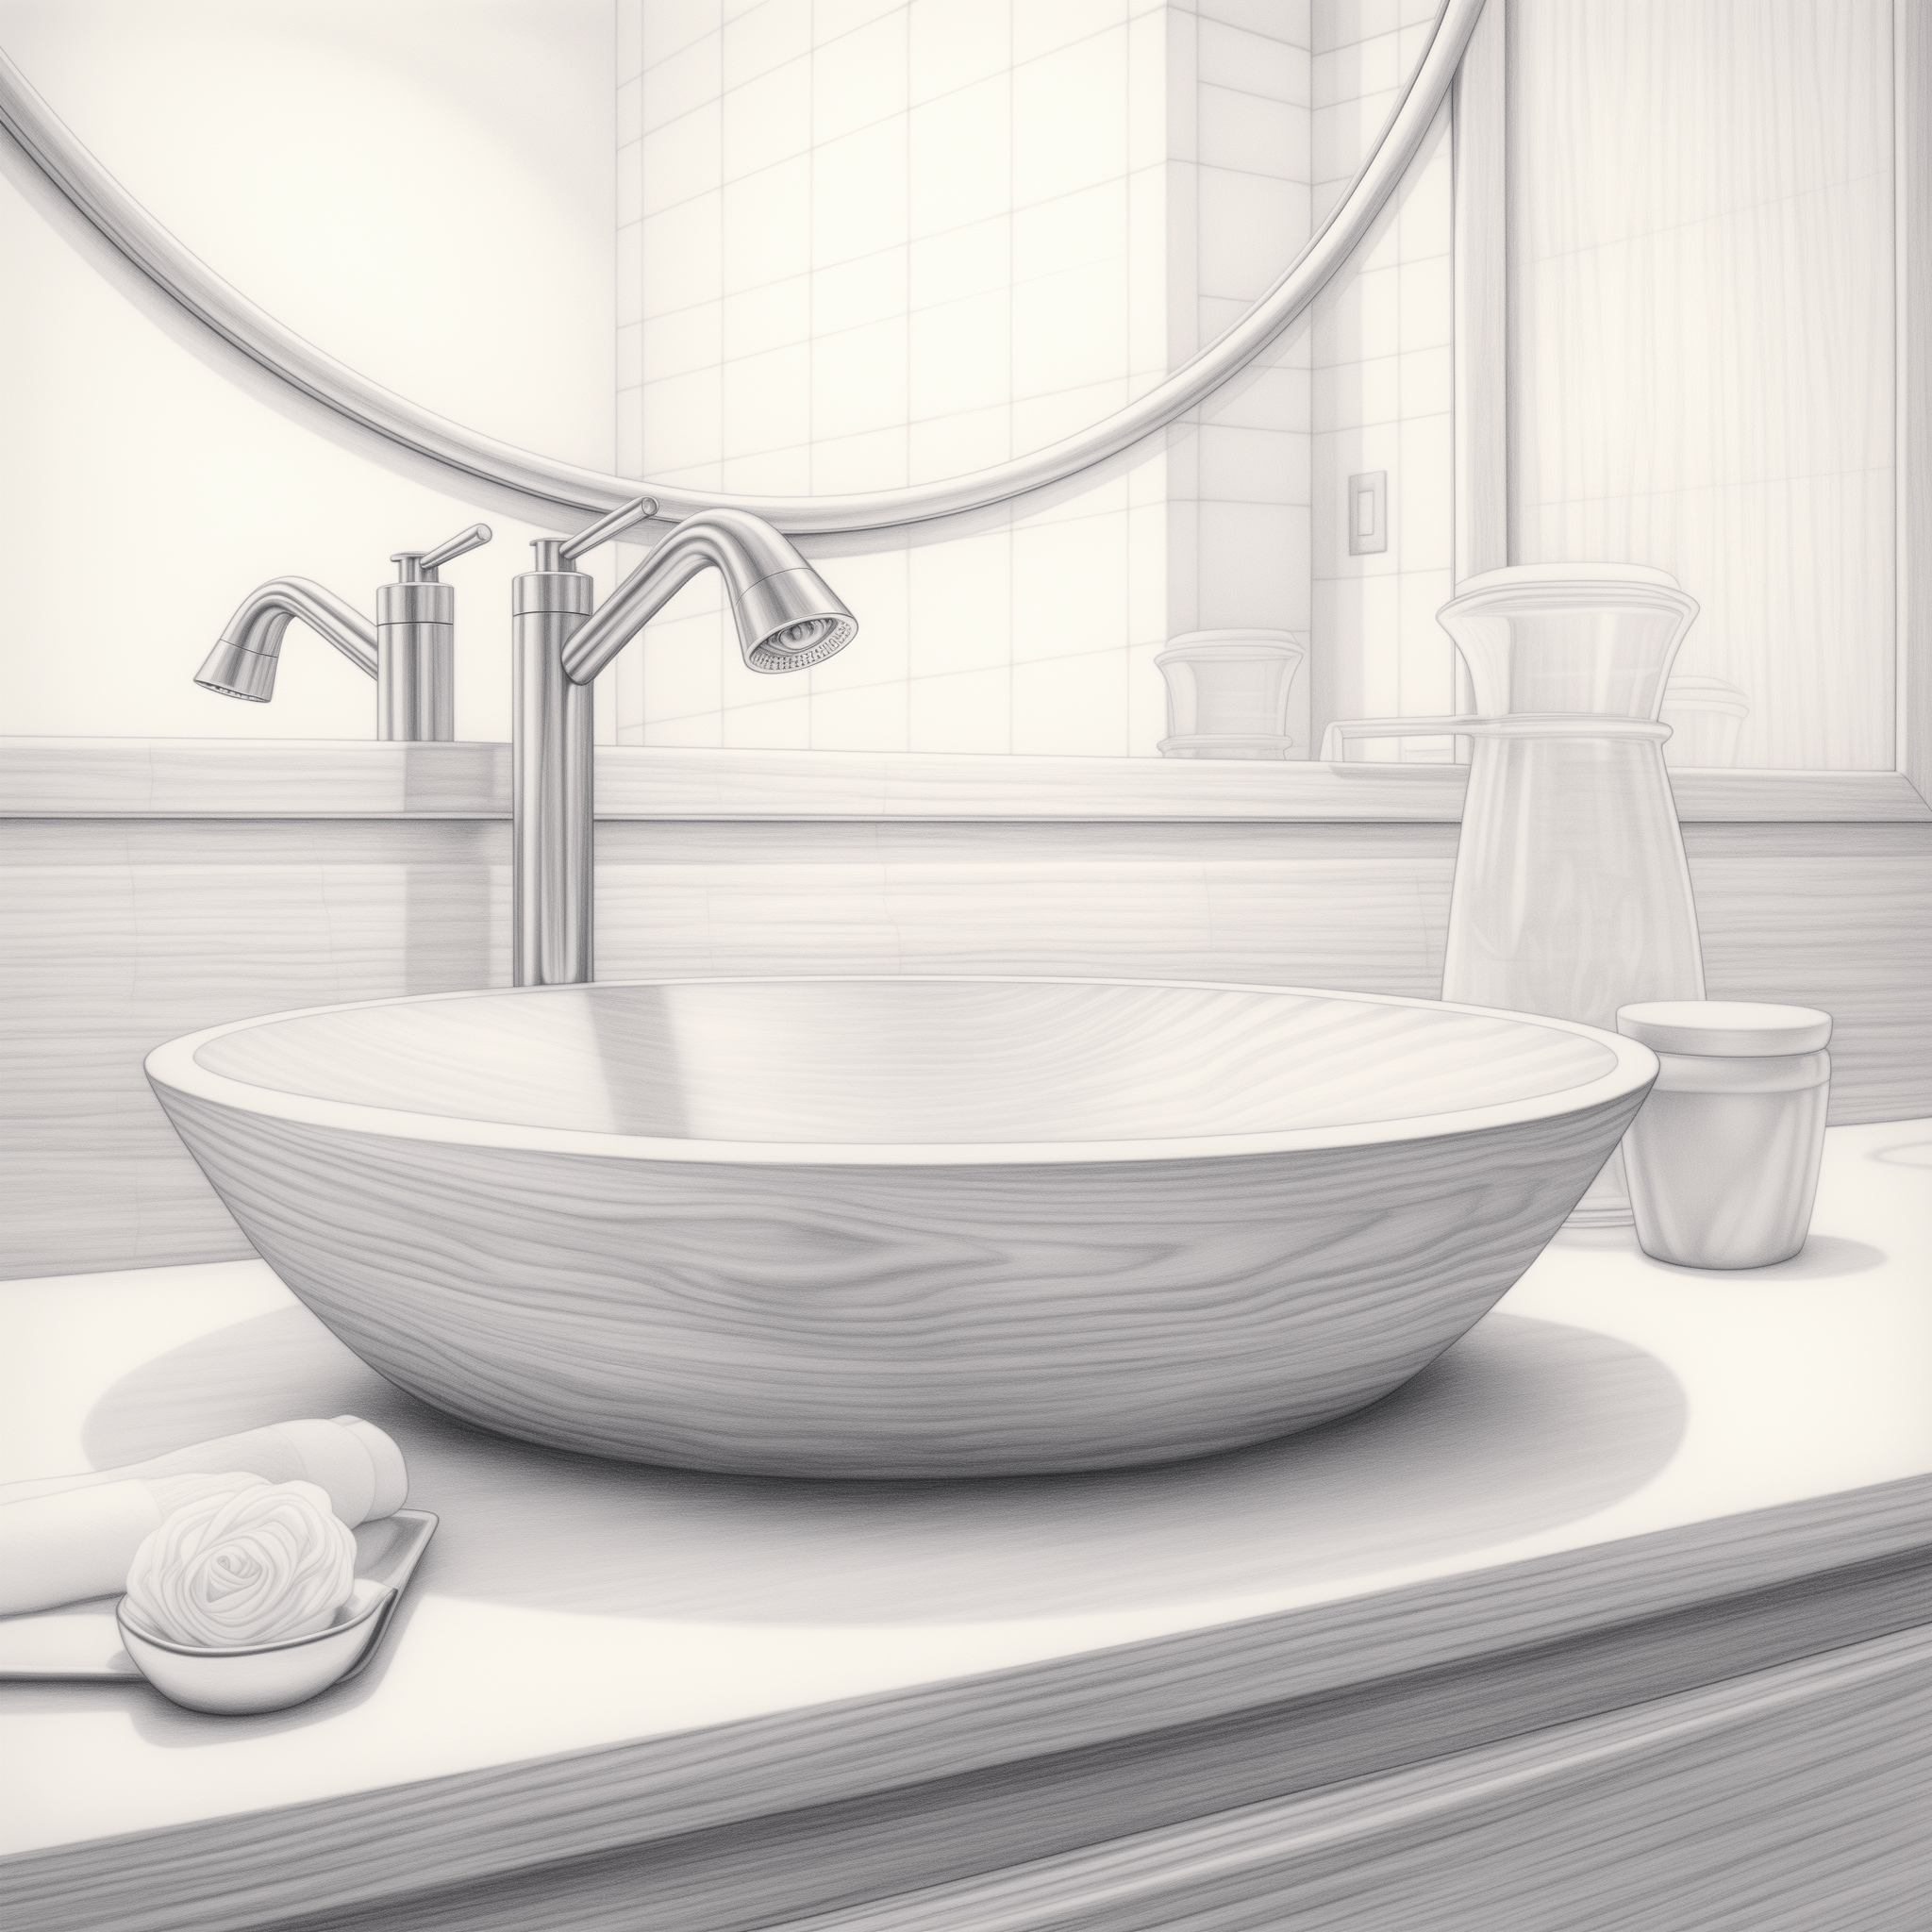
- Vanity Top and Sink: Carefully place the vanity t0 on the cabinet. Make sure it's centered. Attached the sink according to the manufacturer's instructions, typically with clips or adhesive.
- Cabinet Hardware/Handles: Drill holes for cabinet hardware or handles. Attach them securely, ensuring they're level and evenly spaced.
- Sealant or Caulk: Apply a bead of clear silicone sealant or caulk along the edges of the sink and vanity top. Smooth it with a wet finger for a professional, watertight finish.
These final touches not only enhance the aesthetics but also ensure the functionality and durability of your bathroom vanity.
Your Vanity Installation Journey Begins Here
Your bathroom transformation is just a few steps away as you embark on the exciting journey of installing a new vanity. While it might seem like a significant project, breaking it down into key steps will make the process smoother and more manageable.
- Measure and Choose
- Assemble and Secure
- Plumb and Finish
With these key steps in mind, You're well prepared to take on your bathroom vanity installation with confidence. The result will not only enhance the aesthetic of your bathroom but also contribute to its functionality and durability.
We're here to support you every step of the way. Do you have questions or insights to share? Feel free to drop a comment or reach out with any queries. Lets embark on this journey together, and may your bathroom transformation be a resounding success.
Happy remodeling!
Other Related Articles:
How to Retile a Bathroom for a Bright New Look
Maximizing Space: Bathroom Vanities for Small Spaces
Modern Bathroom Remodeling Ideas
Three Bathroom Renovations, Three Different Styles
Budget Friendly Bathroom Make Over
Leave a comment
This site is protected by reCAPTCHA and the Google Privacy Policy and Terms of Service apply.